DIY Flooring Installation: A Step-by-Step Guide for Beginners
Why Choose DIY Flooring?
Installing your own flooring can be an exciting and cost-effective way to transform your living space. Not only does it allow for a personal touch, but it also gives you the satisfaction of seeing your hard work pay off. With the right guidance and tools, even beginners can tackle this project successfully.
DIY flooring projects can save you money on labor costs and offer a sense of accomplishment. By following this step-by-step guide, you can achieve professional-looking results without needing extensive experience or expertise.
Gathering Your Tools and Materials
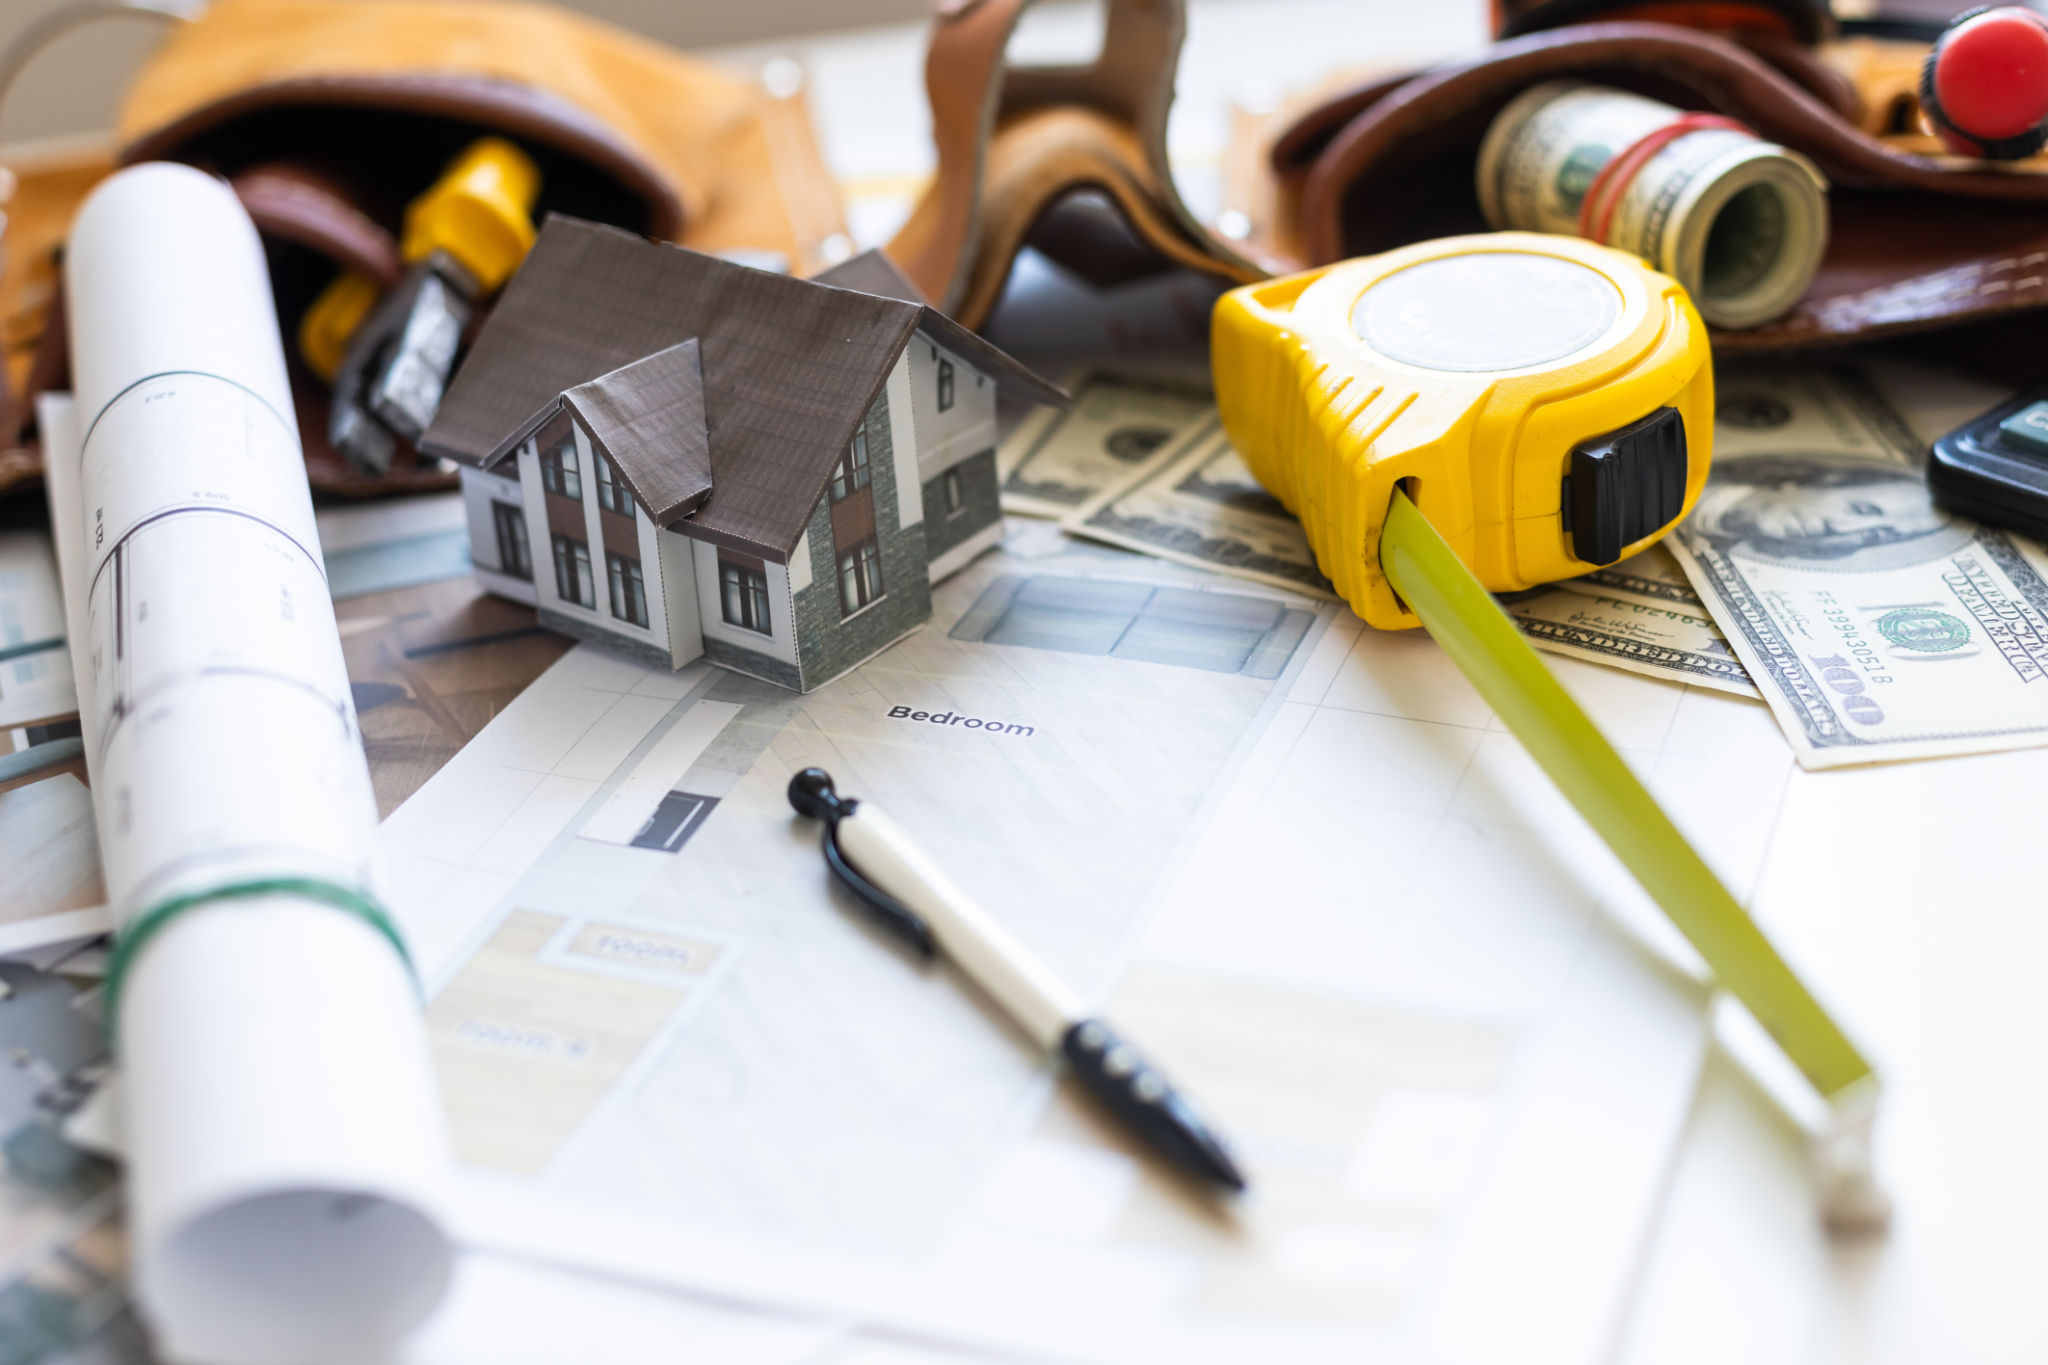
Before you start, it's crucial to gather all necessary tools and materials. Having everything ready will streamline the process and help avoid unnecessary stress. Here's a basic list of what you'll need:
- Flooring material (laminate, hardwood, vinyl, etc.)
- Underlayment (if required)
- Measuring tape
- Utility knife
- Saw (circular or hand saw)
- Hammer and nails or adhesive
- Level
- Safety gear (gloves, goggles)
Once you've gathered your tools and materials, it's time to prepare your workspace for installation.
Preparing the Space
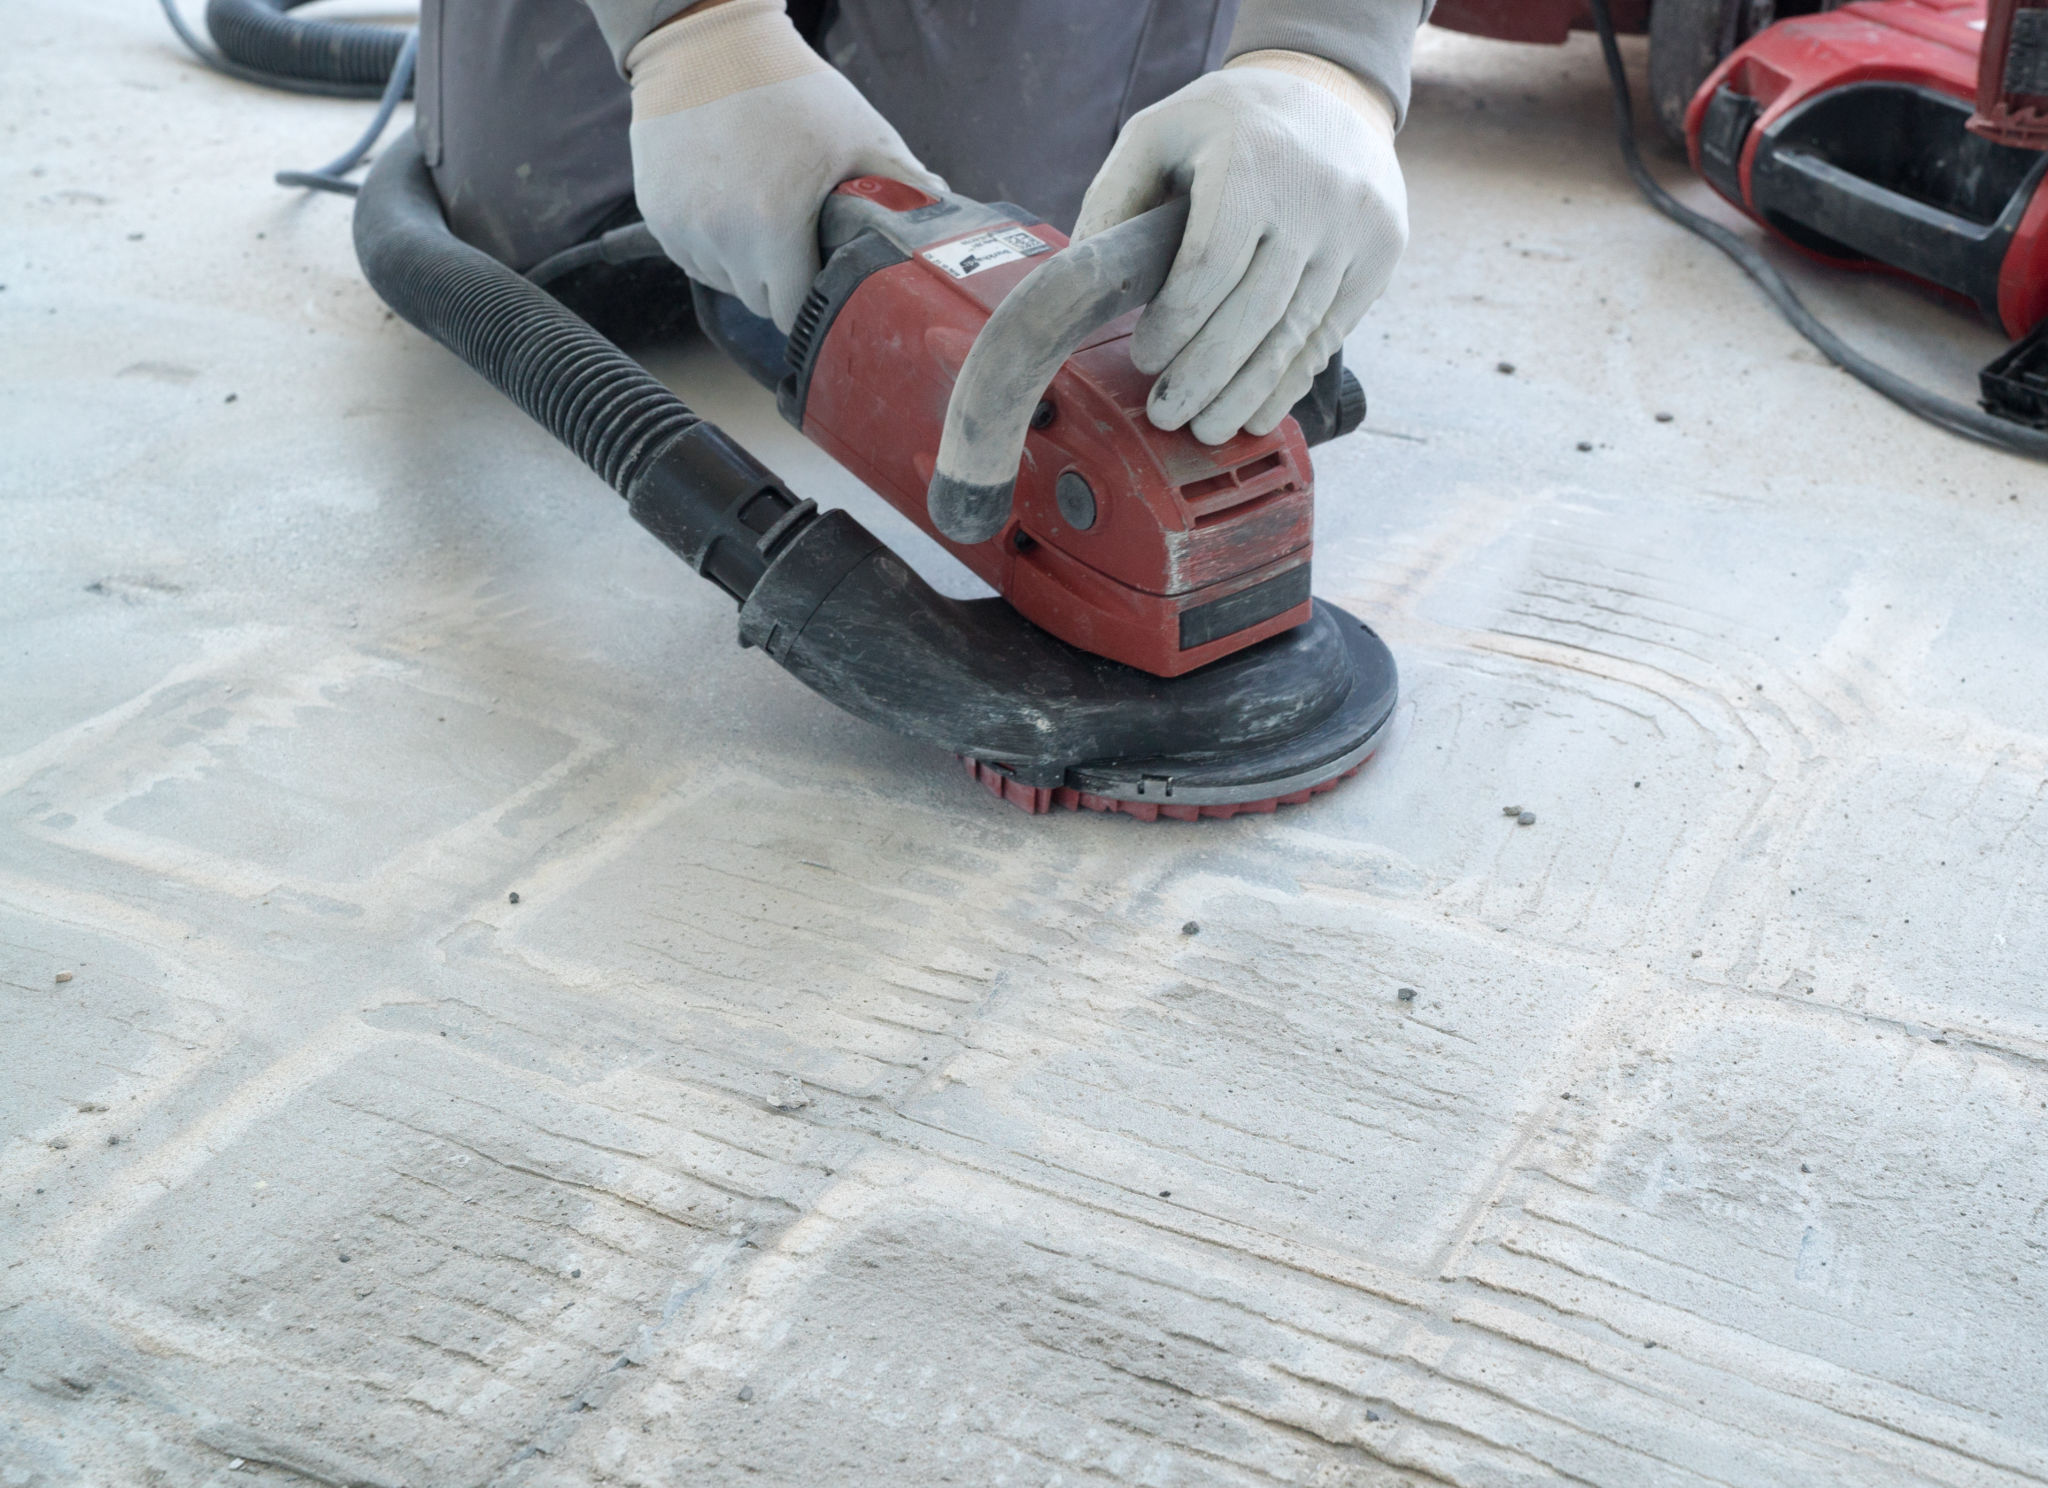
Before laying down new flooring, ensure the subfloor is clean, dry, and level. Remove any existing flooring materials, such as carpets or old tiles. Clean the area thoroughly to remove dust and debris that could interfere with the installation process.
If your new flooring requires an underlayment, now is the time to lay it down. Underlayment acts as a moisture barrier and adds cushioning, which can extend the life of your flooring.
Installation Process
Laying Out Your Flooring
Start by laying out the flooring pieces without securing them to get a sense of how they will fit in your space. This will help you determine the best layout and identify any pieces that need cutting.
Measure twice before cutting any pieces. Remember that walls are not always perfectly straight, so adjustments may be necessary.
Securing the Flooring
Once satisfied with the layout, begin securing the flooring pieces. Depending on the type of flooring, this may involve clicking pieces into place, gluing them down, or nailing them. Follow the manufacturer's instructions carefully for the best results.

Finishing Touches
After all pieces are securely laid, install any necessary trim or baseboards to give your floor a polished look. This step not only improves aesthetics but also helps protect against dirt accumulating at the edges.
Conduct a final inspection to ensure everything is in place and secure. Clean up any debris and enjoy your newly transformed space!
Troubleshooting Common Issues
Even with careful preparation, you may encounter some common issues during installation. If a piece doesn't fit as expected, re-check your measurements and adjust accordingly. For uneven floors, use a leveling compound to create a smooth surface.
If you notice gaps between pieces after installation, check for debris underneath or consider using floor fillers to close the gaps.
